

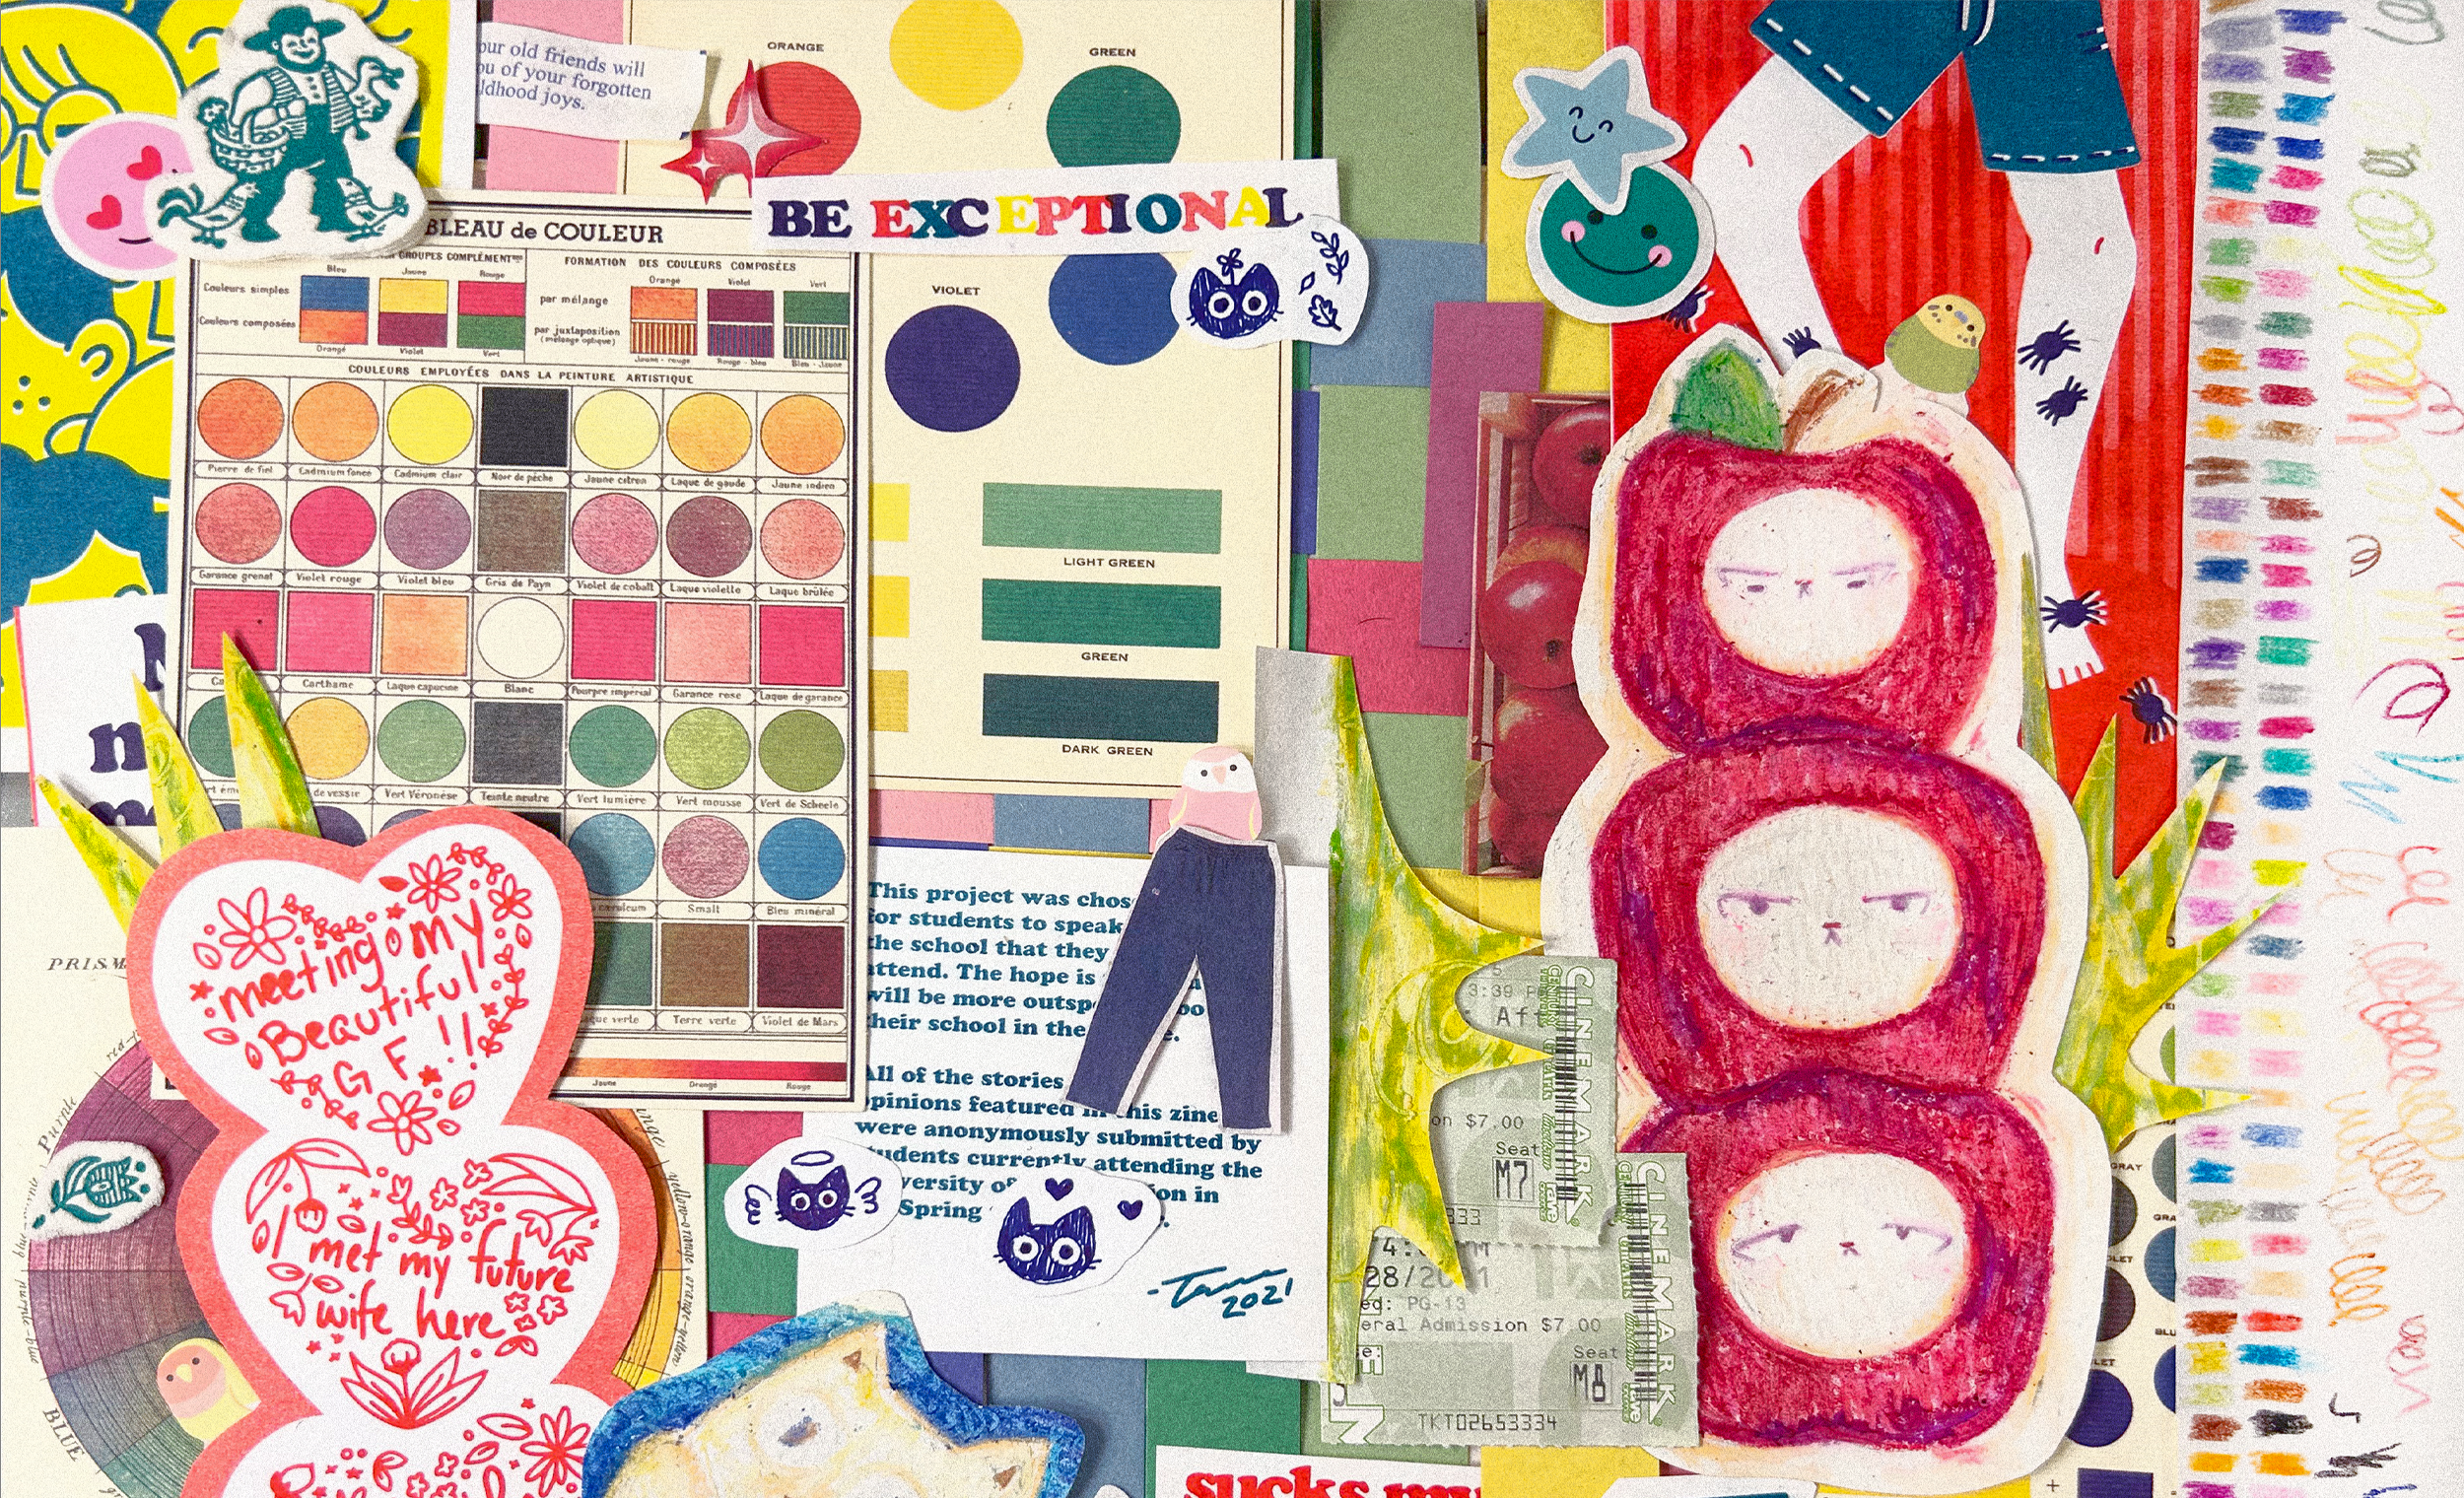
The Process
Step 1: Customer Goals, Rules, and References
Always start by having a discussion with the client on the overall goals for the design, any criteria or limitations that need followed for branding or resolution purposes. From there a collection of inspiration and references are collected and presented to ensure this direction is approved.
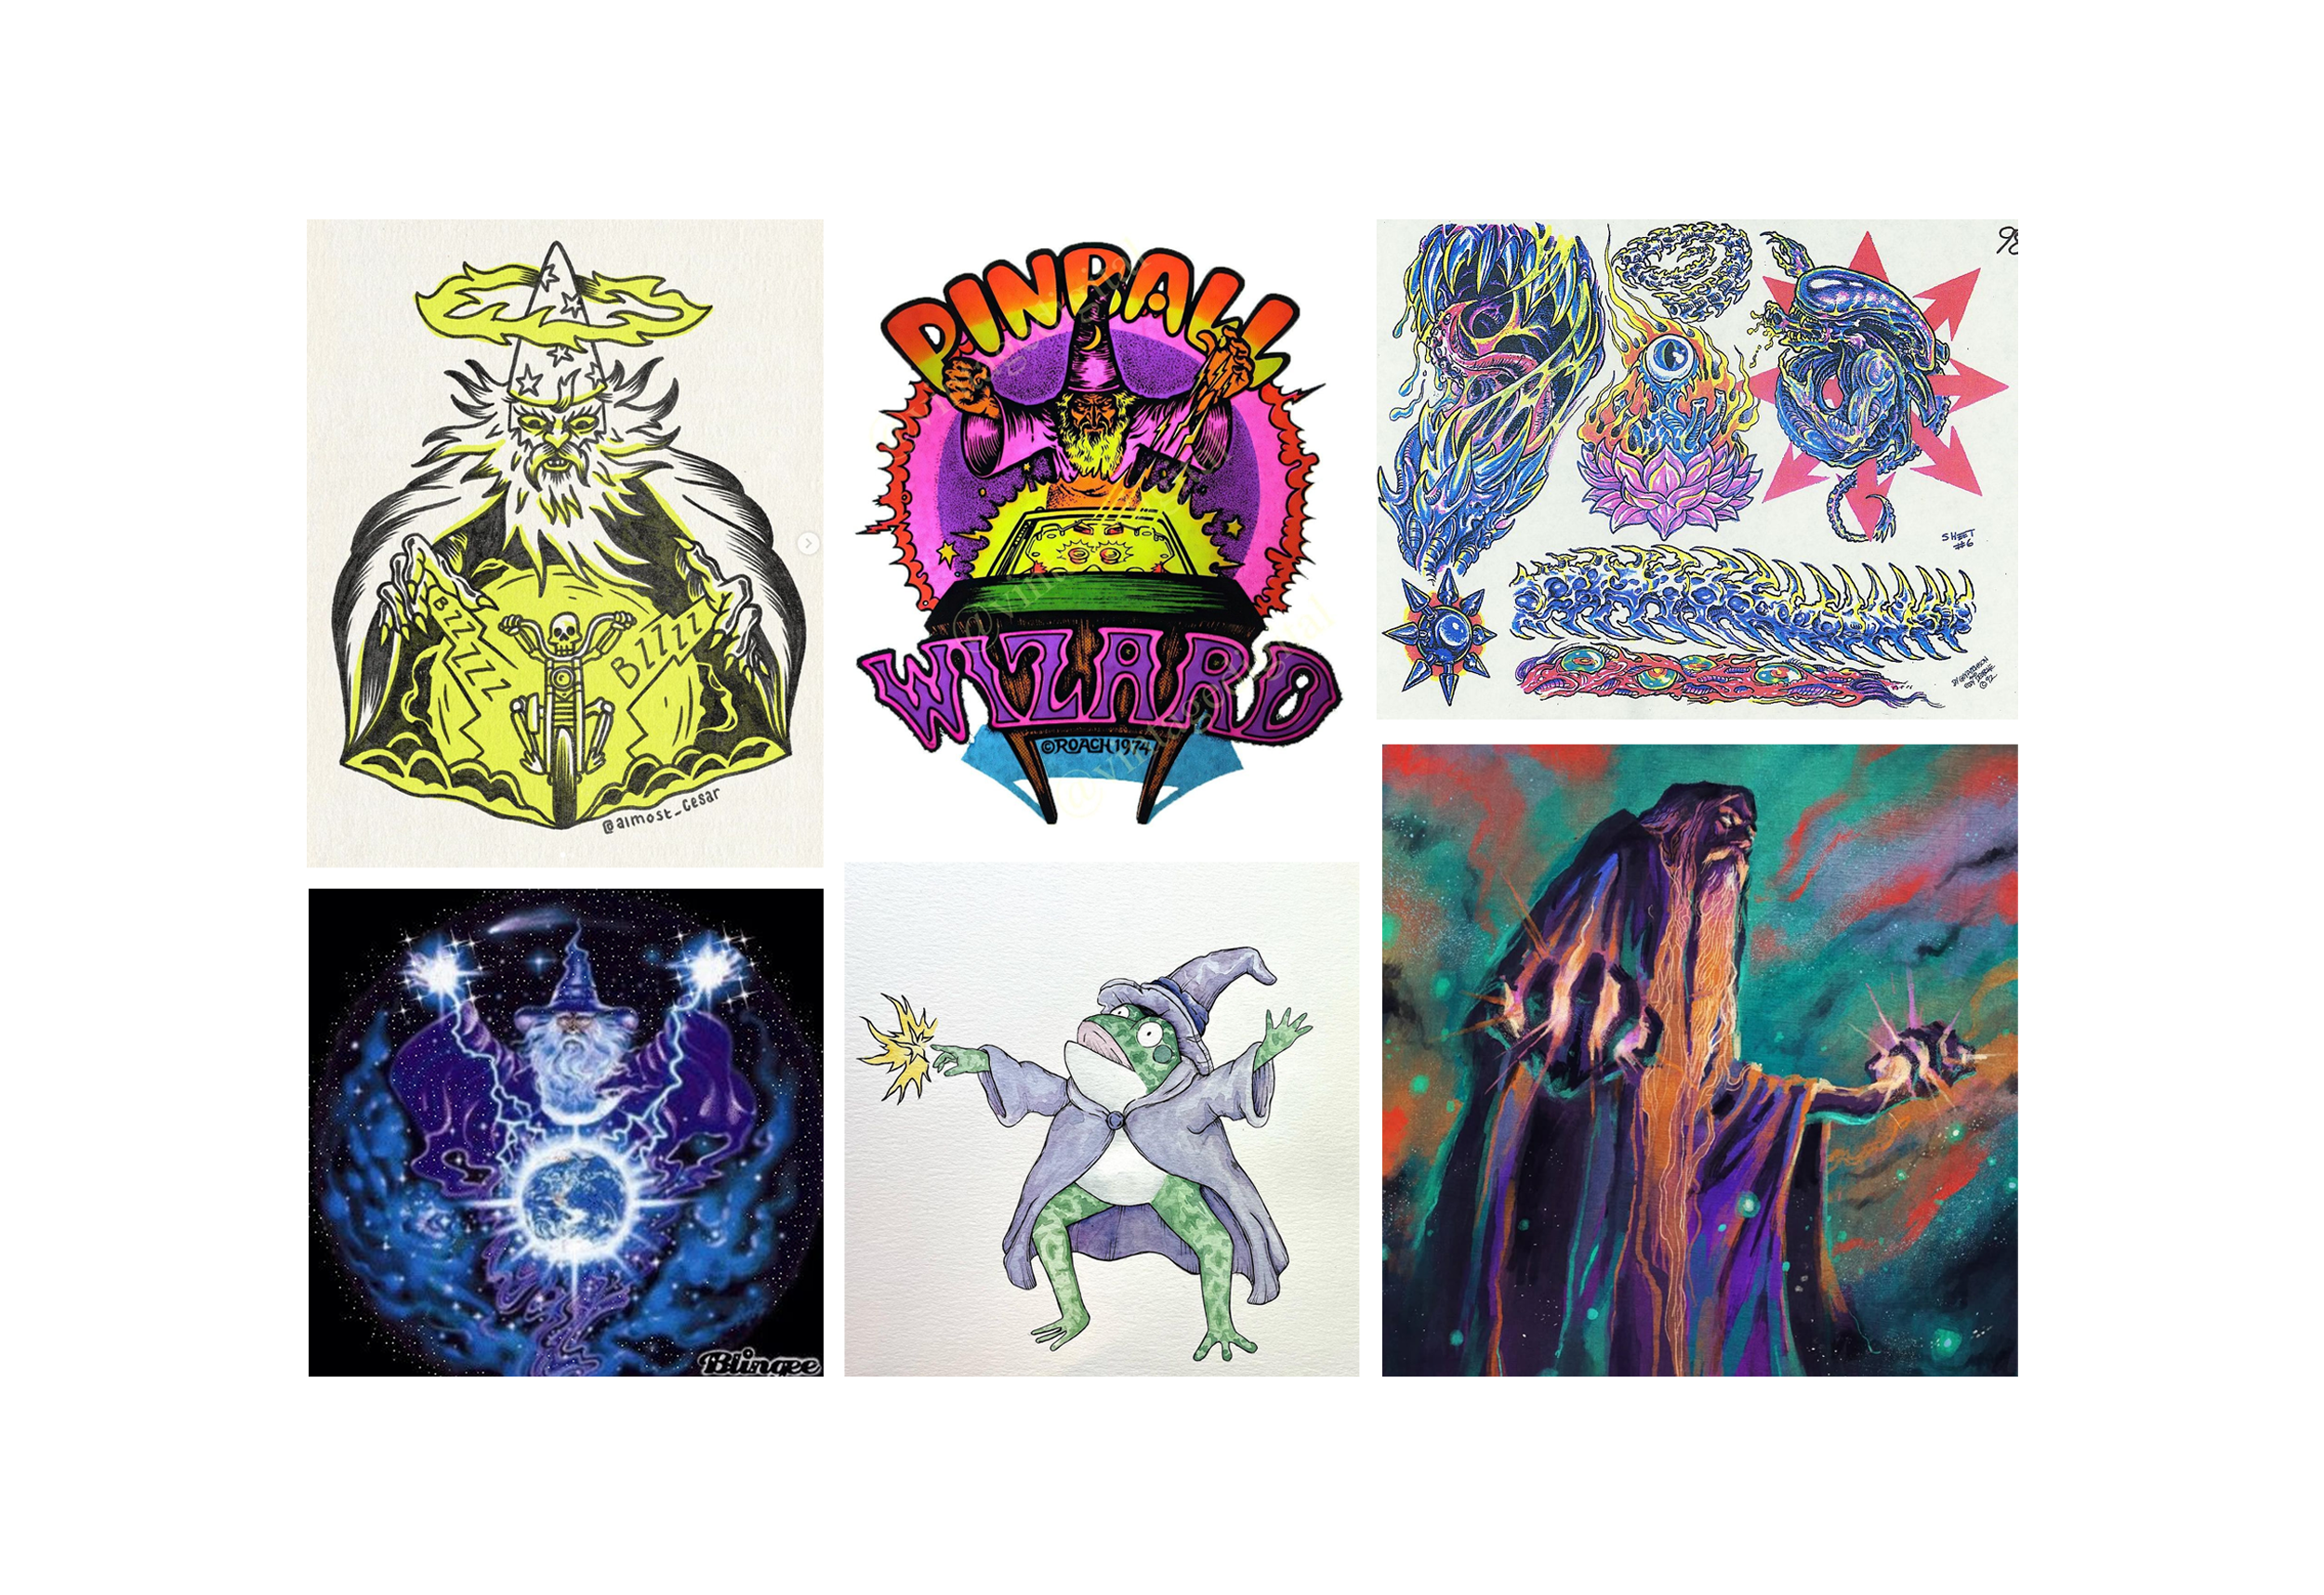
In this case, the project goal was to create a fun graphic tee for a managers’ trip to Florida. The graphic was meant to reflect the managers’ interest in the retro-fantasy genre, while also including the name of the business - Big Frog - and include frog imagery if possible.
These reference images were collected and presented. The manager approved the direction, and liked the perspective of the wizard facing forward. Instead of a human wizard, it was suggested to make the wizard a frog.
Step 2: Thumbnails, Edits, and Color Palettes
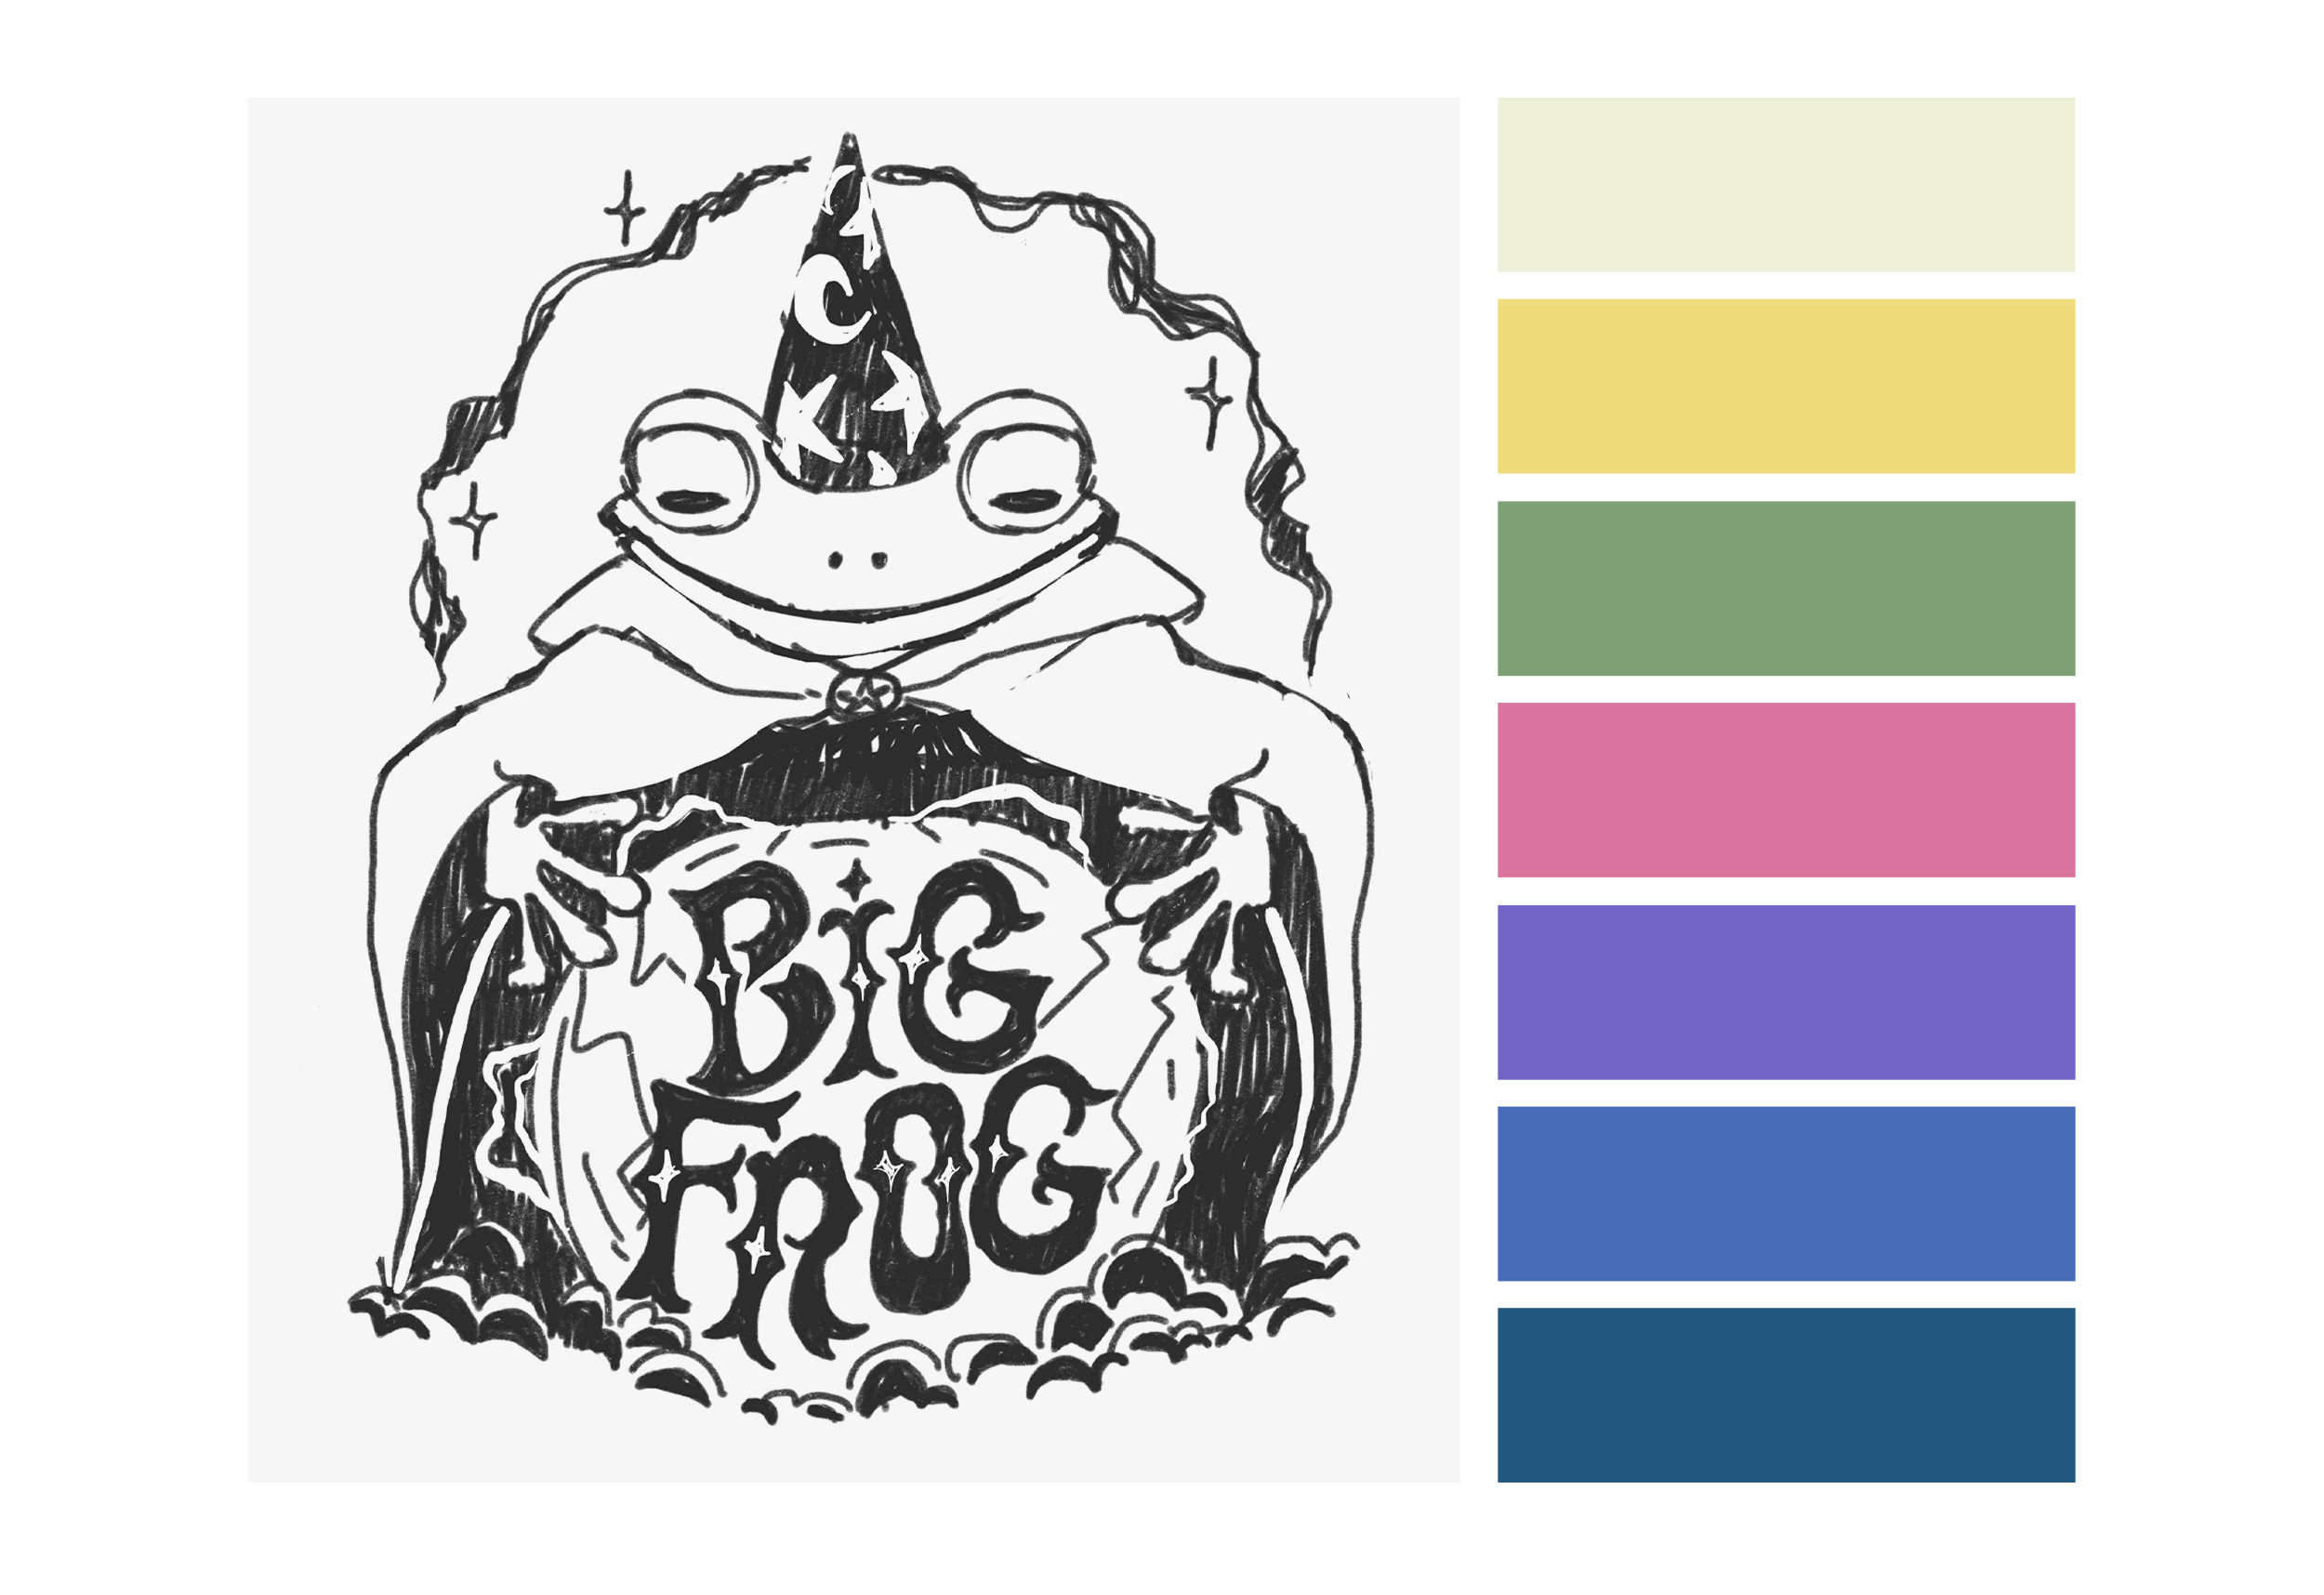
Once the general direction was approved, the color palette and thumbnail sketches are drafted up. After some edits, a final rough thumbnail is chosen and color palette is approved.
This was the final sketch and color palette approved. The customer did request the final artwork render to have more of a brushed or glowing look instead of solid line art.
Step 3: Final Edits and Exporting Files
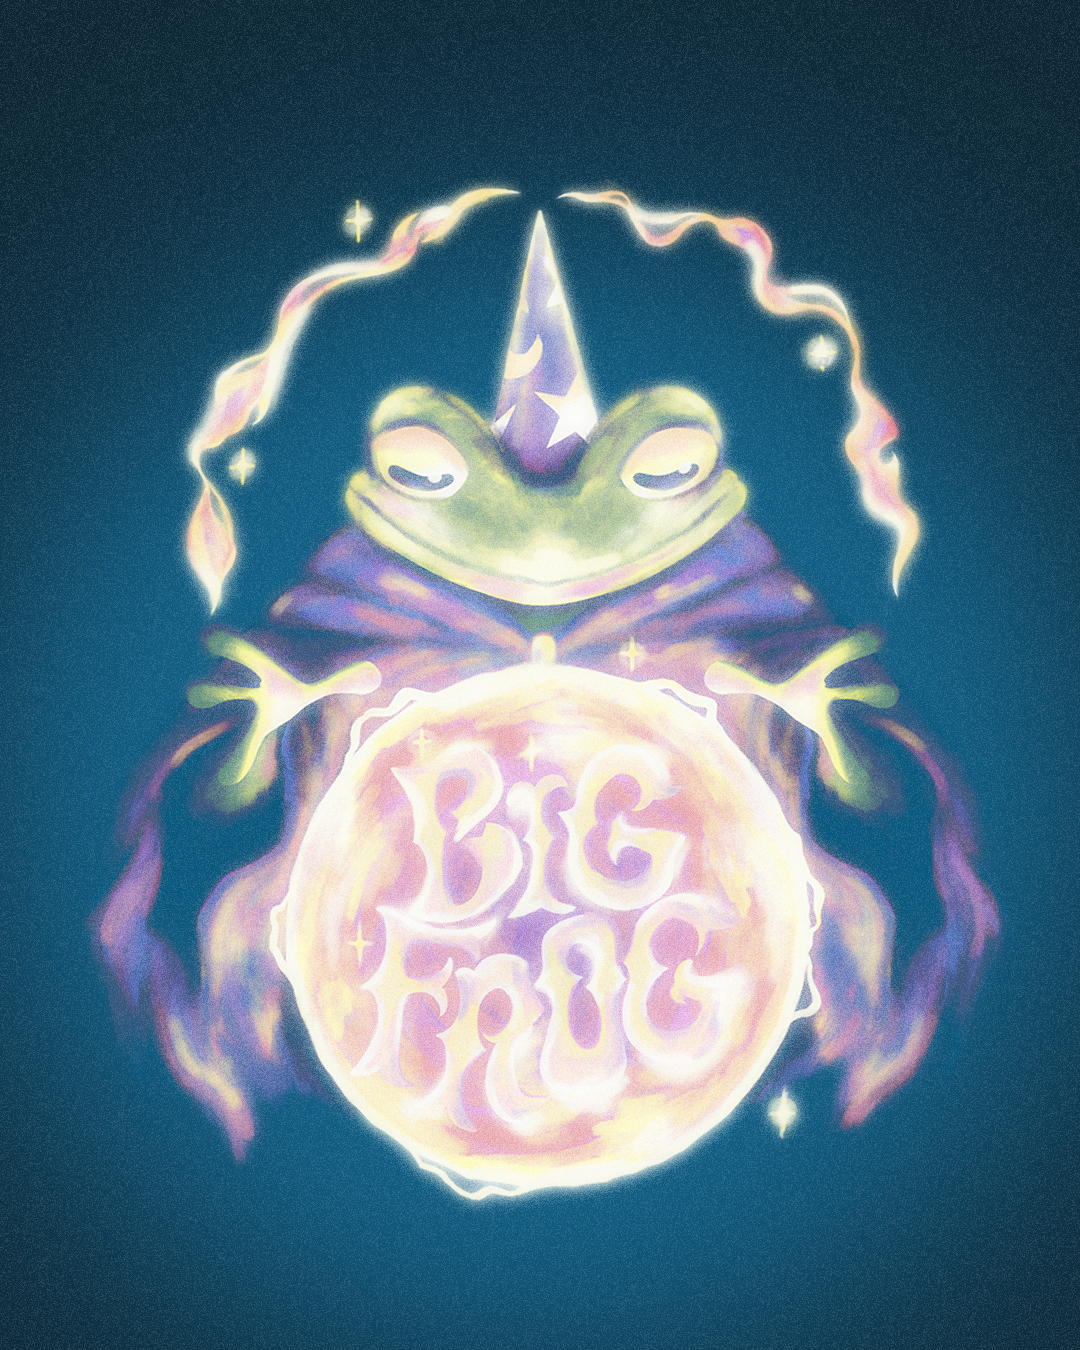
The final design was bounced back and forth twice for edits before being approved. Many were minor things like editing the hand placement, color of the orb, and the removal of the fog bubbles towards the bottom of the image.
Once approved, the artwork was exported for print in the proper files and resolution needed.